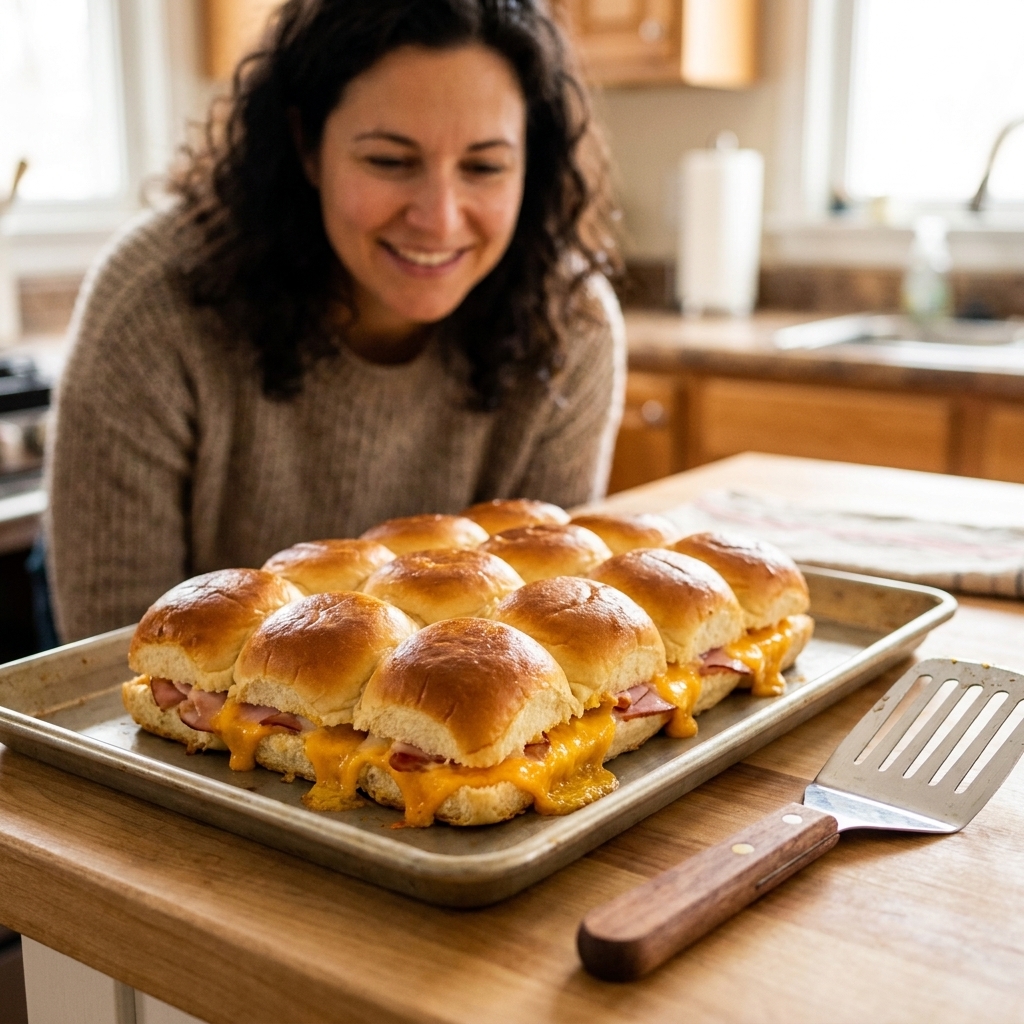
If you have ever tried to make sliders one by one, you know how it goes. The first few are hot and glorious, and the last few are still waiting their turn while you wipe down yet another cutting board. This is the sheet pan fix: build one big slab of pull-apart sliders, bake once, and serve a dozen warm sandwiches at the same time. One pan. One batch. One happy, melty moment.
Why sheet pan sliders work
- Everything bakes together: buns toast, cheese melts, and the filling heats through without babysitting.
- No flipping, no batches: you get 12 sliders done at once.
- Minimal cleanup: parchment or foil on the sheet pan means far less scrubbing later (even if a little cheese leaks out, which happens).
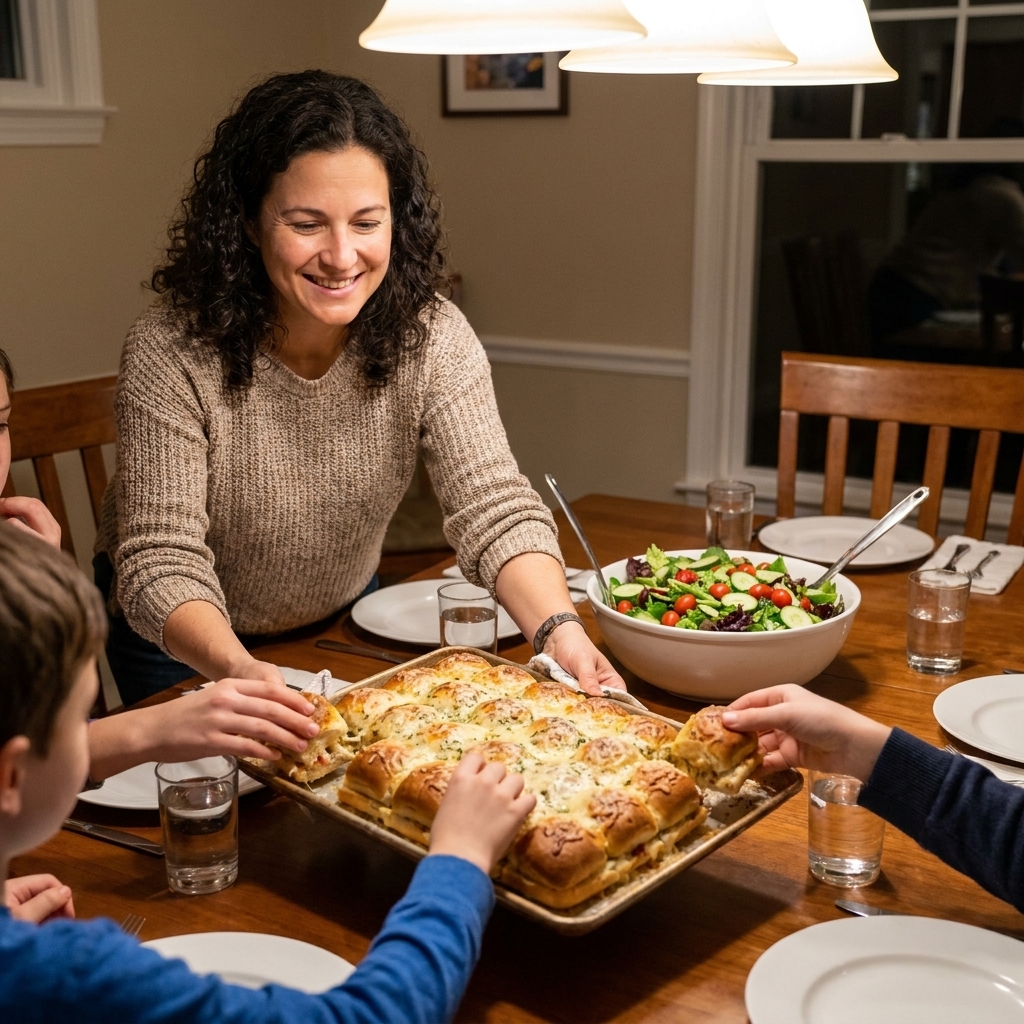
- They travel well: the whole slab can go to the table, a potluck, or the couch for movie night.
The base recipe
This is the classic, family-pleasing version with that buttery, savory top. You can swap the filling (I give you options below), but the method stays the same.
Serves: about 4 to 6 (12 sliders)
What you need (12 sliders)
- 1 package Hawaiian rolls (12-count), or any soft slider buns attached as a slab
- 12 slices deli ham (or turkey)
- Swiss cheese, about 6 to 8 slices (roughly 6 to 8 ounces), or enough to cover in two layers (or cheddar, provolone)
- 2 tablespoons mayonnaise (optional, but can help prevent soggy bottoms)
- Butter topping: 4 tablespoons butter, melted
- 1 tablespoon Dijon mustard
- 1 teaspoon Worcestershire sauce
- 1 teaspoon poppy seeds (optional)
- 1 teaspoon onion powder
- 1/2 teaspoon garlic powder
- Pinch of salt (skip if your ham is very salty)
Equipment
- Rimmed half-sheet pan (about 18 x 13 inches). A quarter-sheet pan works too, it will just be snug.
- Parchment paper or foil
- Small bowl for the butter topping
- Serrated knife
30-minute method
1) Heat the oven and prep the pan
Heat oven to 375°F. Line a rimmed sheet pan with parchment or foil. If you use foil, give it a quick spray of oil so nothing welds itself on.
2) Slice the rolls as one slab
Keep the rolls connected. Using a serrated knife, slice the whole slab horizontally to create a top and bottom layer. Set the tops aside.
3) Build the sliders on the pan
Place the bottom slab on the lined pan. If you are using mayo, spread a thin layer over the cut side (a little insurance policy against sogginess).
Layer half the cheese, then the ham, then the remaining cheese (cheese on both sides helps hold everything together and can help block moisture). Put the top slab back on.
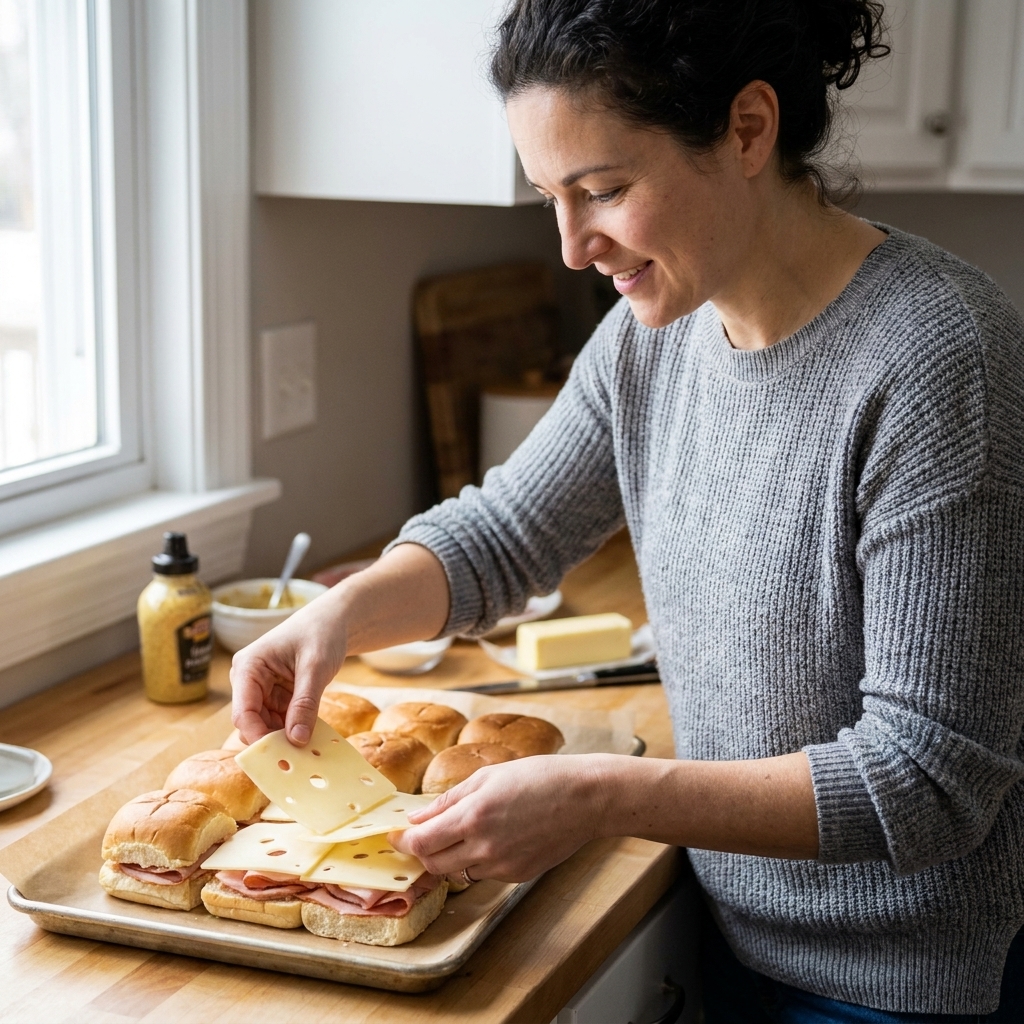
4) Brush on the buttery topping
In a small bowl, stir together melted butter, Dijon, Worcestershire, poppy seeds, onion powder, garlic powder, and a pinch of salt if needed.
Brush generously over the tops and along the edges. Do not be shy. This is where the flavor lives.
5) Cover, bake, uncover, finish
Loosely cover the sliders with foil (this helps the cheese melt before the tops get too dark). Bake 10 minutes covered, then uncover and bake 8 to 12 minutes more, until the tops are deep golden and the center sliders are hot throughout.
Rest 2 to 3 minutes, or up to 5 minutes for cleaner cuts, then cut along the roll seams into individual sliders and serve.
Timing cheat sheet
- Prep: 8 to 10 minutes (faster if you keep it simple)
- Bake covered: 10 minutes
- Bake uncovered: 8 to 12 minutes
- Rest and slice: 2 to 3 minutes (up to 5 for tidy slices)
How to avoid soggy bottoms
Soggy bottoms are the number one slider heartbreak. Here is how to stack the odds in your favor without adding steps that create more dishes.
- Put cheese on the bottom layer first: it can create a barrier between bread and moist fillings.
- Use a thin spread of mayo or butter: on the cut side of the bottom slab. It can help the bread stay soft but not wet.
- Go easy on wet ingredients: save tomato slices, pickles, and saucy slaw for serving on the side.
- Rest briefly before slicing: 2 to 5 minutes lets things settle so the bread stays intact.
Easy variations
This is where sheet pan sliders become a weekly habit. Keep the bun slab, keep the butter topping, swap the middle.
Cheeseburger-style
- Use cooked, crumbled ground beef (seasoned with salt, pepper, and a little garlic powder).
- Cheddar or American cheese melts best here.
- Add diced pickles after baking, or serve on the side to keep the bread crisp.
Chicken parmesan
- Use chopped cooked chicken tenders or rotisserie chicken.
- Toss with a small amount of marinara (keep it light).
- Mozzarella plus a sprinkle of Parmesan.
- Skip the Dijon in the butter topping and use garlic butter with Italian seasoning.
BBQ chicken
- Toss shredded chicken with BBQ sauce, but do not drench it.
- Use pepper jack or cheddar.
- Top with quick pickled red onions after baking.
Veggie-friendly
- Roast thin-sliced mushrooms and onions on the sheet pan first (10 minutes at 425°F), then build sliders on the same parchment.
- Use provolone or Swiss.
- Add arugula after baking.
Make-ahead and leftovers
Can I assemble them ahead?
Yes. Assemble the sliders (without the butter topping), cover tightly, and keep refrigerated up to overnight (about 12 hours). Brush on the butter topping right before baking. Add 2 to 4 extra minutes covered if they are going in cold, and bake until the center is hot throughout.
How to reheat without drying them out
- Oven: Wrap a few sliders in foil and warm at 325°F for 10 to 12 minutes.
- Air fryer: 320°F for 3 to 5 minutes (watch closely so the tops do not over-brown).
- Microwave: Works in a pinch, but the bread softens. If you do it, microwave briefly, then toast in a skillet for 1 minute.
What to serve with sliders
Keep the sides as low-effort as the main. My favorites:
- Bagged salad kit with extra veggies tossed in
- Oven fries or sweet potato wedges (use a second sheet pan if you have it, but do not feel obligated)
- Crunchy pickles and baby carrots
- Fruit salad or sliced apples
- Simple tomato soup for dunking
Troubleshooting
The tops are browning too fast
Loosely tent with foil for the last few minutes. Ovens vary, and slider buns can go from golden to dramatic in a hurry.
The cheese is melted but the middle is not hot
Cover with foil and bake 3 to 5 minutes more. Covering traps heat and helps the center catch up without scorching the tops.
They slide around when I cut them
Let them rest 2 to 5 minutes, then use a serrated knife and cut straight down along the seams.
Cleanup plan
I promised minimal cleanup, so here is the exact move: line the sheet pan, assemble on the lining, mix butter topping in a single small bowl, and brush with a pastry brush or even the back of a spoon. When dinner is done, toss the parchment or foil and wipe the pan if needed. That is it. No sink marathon.
FAQ
Can I use any rolls, not just Hawaiian?
Absolutely. Brioche slider buns, potato rolls, or any soft connected dinner rolls work great. If they are not connected, just snug them together on the sheet pan before adding the tops.
Do I have to use poppy seeds?
Nope. They add a classic deli-shop vibe, but the sliders are still fantastic without them.
How many sliders per person?
For kids, plan on 1 to 2. For adults, 2 is typical, 3 if it is a hungry night and you have lighter sides.