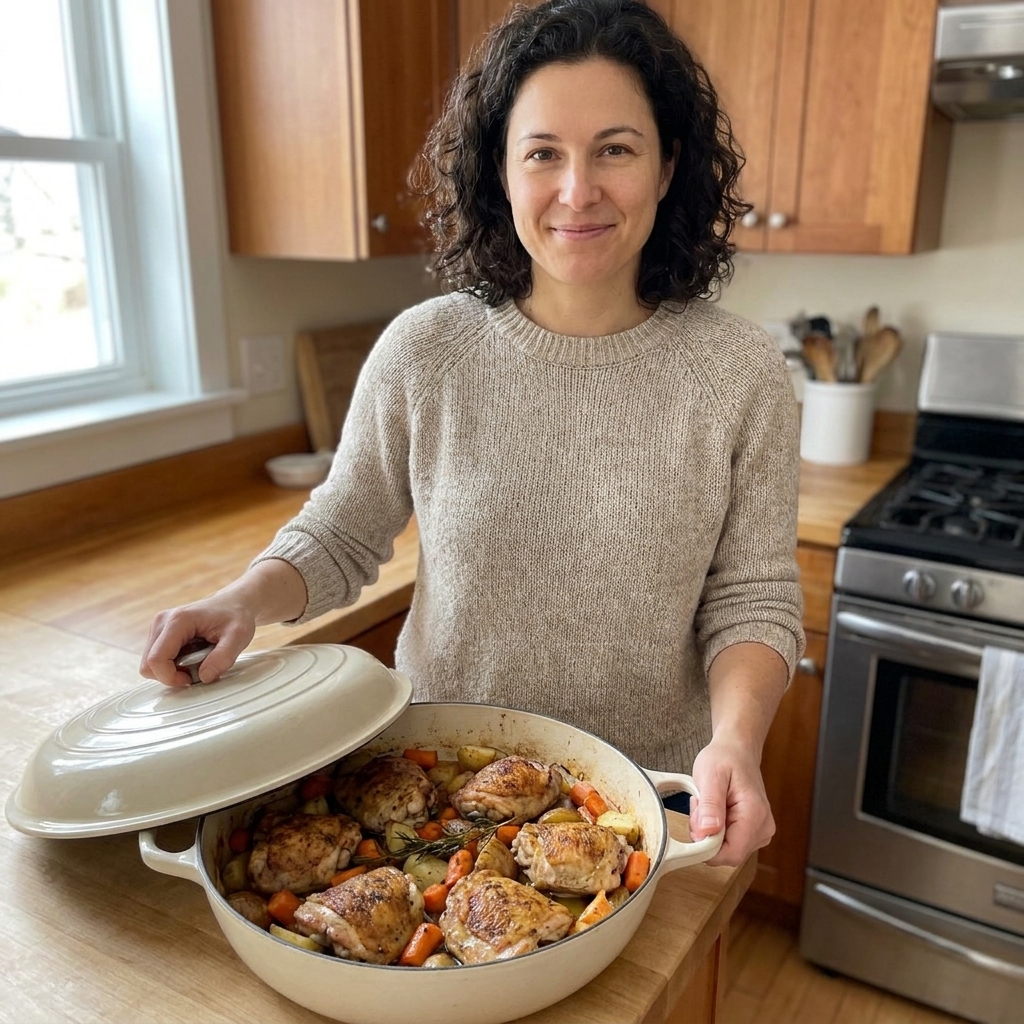
If you have ever lifted the lid on your one-pot chicken and rice and found either rice soup (mushy) or crunchy pebbles (dry), you are not alone. I have absolutely made both, usually on the same Tuesday when everyone is hungry and I am feeling brave.
The good news: one-pot chicken and rice is mostly math and timing. The exact liquid-to-rice ratio matters, yes, but so does how much moisture your chicken releases, whether your pot is tight-lidded or basically a steam-leaking diva, and how wide the pan is.
This guide gives you ratios that work in a real home kitchen, plus the method I use so the chicken stays tender and the grains cook evenly.
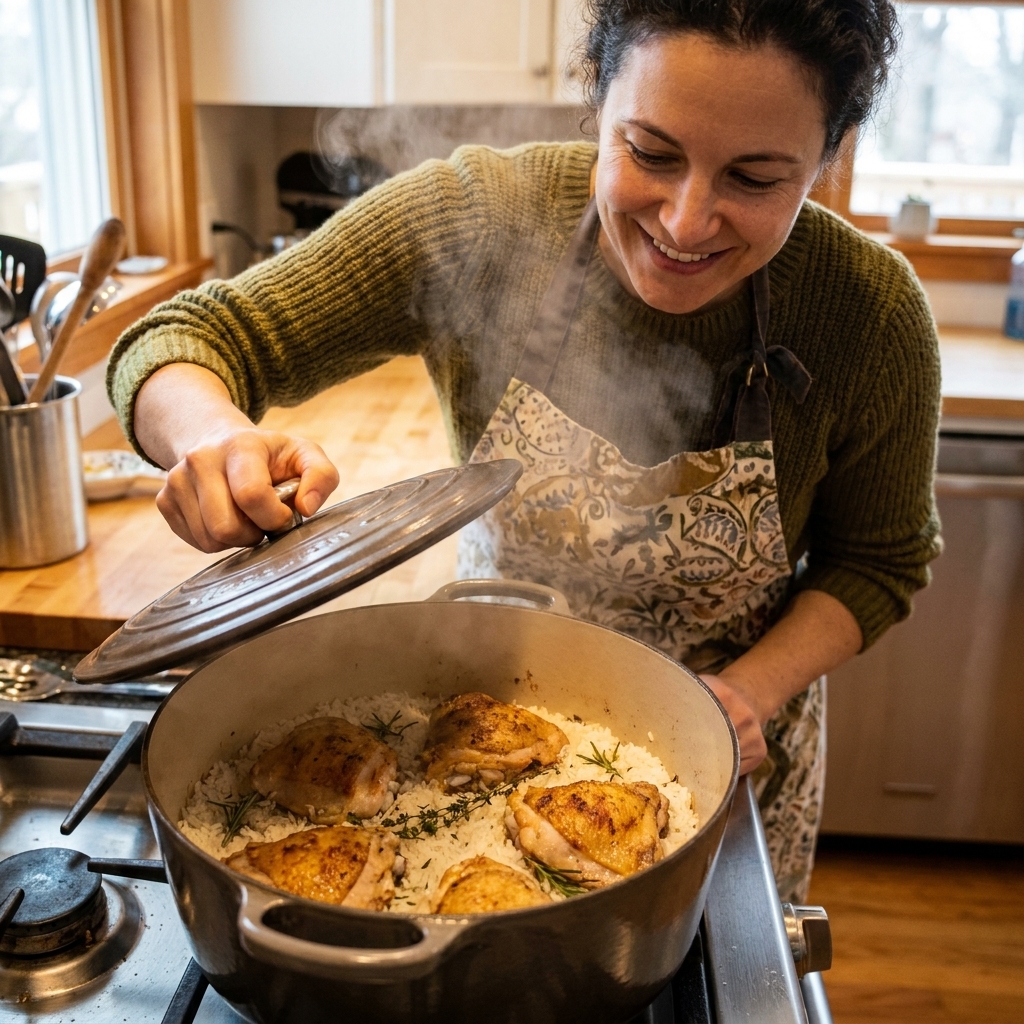
The core rule: start with a baseline, then adjust
Rice cooks by absorbing liquid while steaming under a lid. In a one-pot dinner, your liquid comes from three places:
- Added liquid (broth or water)
- Moisture from chicken (thighs tend to contribute more than breasts, especially if they are bone-in or skin-on)
- Moisture from vegetables (mushrooms, zucchini, spinach, frozen veg all contribute)
That is why the same “2 cups broth to 1 cup rice” advice can turn out perfect one night and gummy the next.
My baseline in a tight-lidded, heavy pot (Dutch oven or deep sauté pan): start with 1 cup long-grain white rice and 1 1/2 cups hot broth. If your pot is wide, your lid leaks, your chicken is very juicy, or your rice brand runs thirsty, you may land closer to 1 2/3 cups. The method below helps you steer either way.
Small but important: Use the same measuring cup for rice and broth. “One cup” only works as math if your cups match.
Liquid-to-rice ratios
These ratios are for one-pot chicken and rice cooked covered on the stovetop, using a heavy pot with a tight lid. They assume you will also have chicken in the pot. If you cook plain rice alone, you often need a touch more liquid.
| Rice type | Liquid per 1 cup rice | Covered simmer time | Rest time (off heat) | Notes for one-pot chicken and rice |
|---|---|---|---|---|
| Long-grain white (jasmine, basmati) | 1 1/2 cups | 15 to 18 minutes | 10 minutes | Best all-purpose choice. Least likely to get gummy. If using a wide pan or a loose lid, bump closer to 1 2/3 cups. |
| Converted/parboiled long-grain | 1 3/4 cups | 18 to 22 minutes | 10 minutes | Very forgiving for beginners. Great if your lid is not perfect. |
| Medium-grain white | 1 2/3 cups | 16 to 20 minutes | 10 minutes | More starch, so stir less and rinse well to avoid stickiness. |
| Short-grain white | 1 2/3 to 1 3/4 cups | 18 to 22 minutes | 10 minutes | Naturally stickier. Works, but expect a creamier texture. |
| Brown long-grain | 2 1/4 to 2 1/2 cups | 40 to 55 minutes | 10 minutes | Brown rice varies a lot by brand. Check the package and plan for longer. Use thighs, not breasts, or add breasts later. |
| Wild rice blend | 2 1/2 cups (check package) | 45 to 60 minutes | 10 minutes | Cook times and liquid needs vary wildly by blend. The bag is the boss here. |
Important: If you add watery vegetables (mushrooms, zucchini) or use frozen vegetables, reduce added broth by 2 to 4 tablespoons per cup of rice, or sauté the veg first to cook off some water.
My foolproof one-pot method
This is the sequence that prevents mushy rice and rubbery chicken: brown first, toast rice, add hot liquid, then cook low and slow without peeking.
Step-by-step (for 1 cup rice and 1 to 1 1/4 pounds chicken)
- Pat chicken dry and season well. Salt matters here. Bland chicken makes the whole pot taste flat.
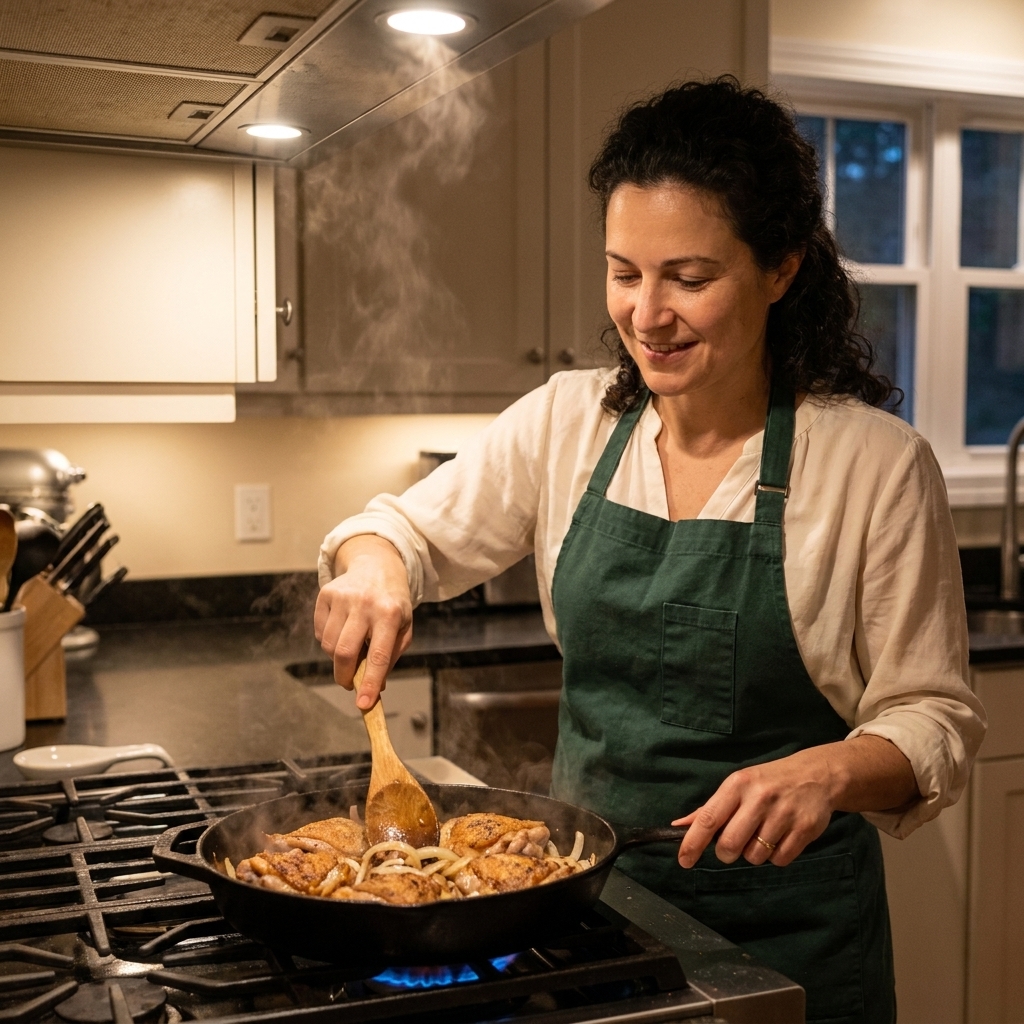
- Brown the chicken in oil, then pull it out. Use medium-high heat. You are not cooking it through, just building flavor. Browning also drives off surface moisture and firms the outside a bit, which makes the rice results more predictable.
- Sauté aromatics in the same pot. Onion, garlic, celery, or whatever you like. Scrape up the browned bits.
- Rinse your rice (especially jasmine and medium-grain). Rinse until the water is mostly clear. It is the easiest anti-gummy move. If you prefer a slightly creamier, more cohesive texture, you can rinse less, just know you are choosing a different vibe.
- Toast the rice for 1 minute. Stir it into the fat and aromatics until it smells lightly nutty. This helps the grains stay separate.
- Add hot broth using the ratio chart. Hot liquid helps the pot return to a simmer quickly, so the timing stays accurate.
- Nestle chicken back in, cover, and bring to a gentle simmer. Once you see a quiet simmer, reduce heat to low. Start your timer when it is truly simmering, not when you put the lid on.
- Cook covered (no peeking). Every lid lift releases steam and steals cooking power. Set a timer.
- Check chicken doneness. Chicken should reach 165°F on an instant-read thermometer (thighs are happiest closer to 175 to 185°F, but 165°F is the safety line). Bone-in pieces often need a few extra minutes at a gentle simmer.
- Turn off heat and rest 10 minutes. This is where the last moisture distributes and the bottom stops being soggy.
- Fluff rice, then serve. Fluff around the chicken first, then under it. Taste and adjust salt.
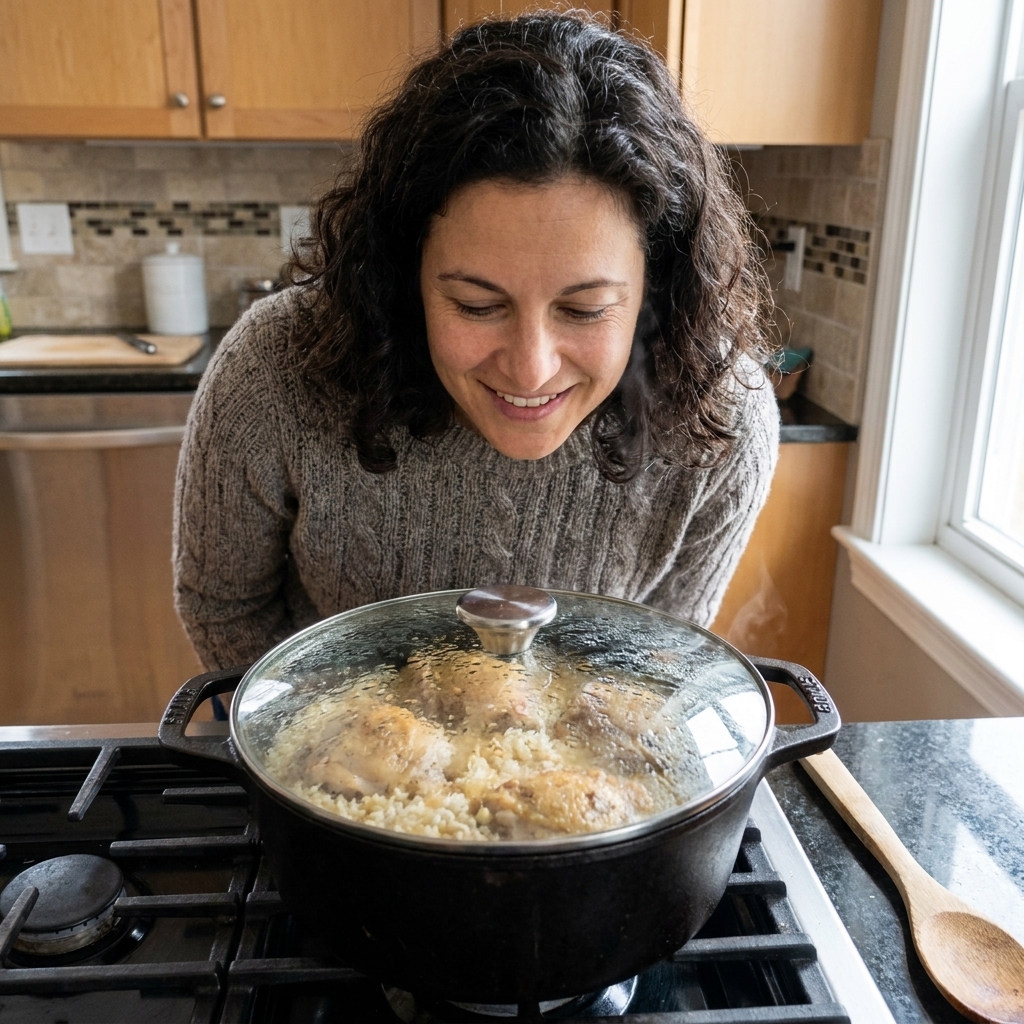
Pot and lid adjustments
I wish every pot behaved the same, but they do not. Here is how to adjust without losing your mind.
If your lid is not tight
Steam escaping means your rice dries out. Either:
- Add 2 to 4 tablespoons extra broth per cup of rice, or
- Create a tighter seal by placing a piece of foil between pot and lid.
If you use a wide skillet
Wide pans increase evaporation. Two fixes:
- Use the higher end of the range (example: 1 2/3 cups liquid for long-grain white instead of 1 1/2), and
- Keep the simmer very gentle so liquid does not boil off aggressively.
This is also why your friend’s 2:1 advice sometimes works. A wide pan plus a loose lid can turn a “normal” ratio into a dry-rice situation fast.
If you use a small, tall pot
Less evaporation, more steaming. Great for fluffy rice, but it can go mushy if you overdo liquid. Stick to the lower end of ratios, and resist stirring.
Chicken choices
Best cuts
- Bone-in, skin-on thighs: most forgiving, stay juicy during simmer time. Plan on a few extra minutes to hit temperature.
- Boneless thighs: fast and tender, but they can finish early. Start checking around 12 to 15 minutes for long-grain white rice batches.
Using chicken breasts (still doable)
Breasts are lean, so they dry out faster. You have three good options:
- Use smaller pieces (cut breasts into 2-inch chunks) and add them halfway through the rice simmer.
- Sear, then add back for the last 10 to 12 minutes of rice cooking.
- Choose parboiled rice so the rice finishes before the chicken dries.
Skin-on tip: If you love crispy skin, brown it well first, then finish the pot in the oven uncovered for a few minutes at the end. Stovetop steaming will soften skin, because steam is rude like that.
Quick ratio recipes
Sometimes you just want the numbers without a pep talk. Here are dependable starting points for long-grain white rice with chicken thighs, using a reasonably tight lid.
For 1 cup rice (serves 3 to 4)
- Rice: 1 cup long-grain white
- Broth: 1 1/2 cups (up to 1 2/3 if your pan is wide or your lid leaks)
- Chicken: 1 to 1 1/4 pounds thighs
- Simmer: 15 to 18 minutes + 10 minutes rest
For 1 1/2 cups rice (serves 4 to 6)
- Rice: 1 1/2 cups long-grain white
- Broth: 2 1/4 cups (up to 2 1/2 in a wide pan)
- Chicken: 1 1/2 to 2 pounds thighs
- Simmer: 17 to 20 minutes + 10 minutes rest
For 2 cups rice (serves 6 to 8)
- Rice: 2 cups long-grain white
- Broth: 3 cups (up to 3 1/3 in a wide pan)
- Chicken: 2 to 2 1/2 pounds thighs
- Simmer: 18 to 22 minutes + 10 minutes rest
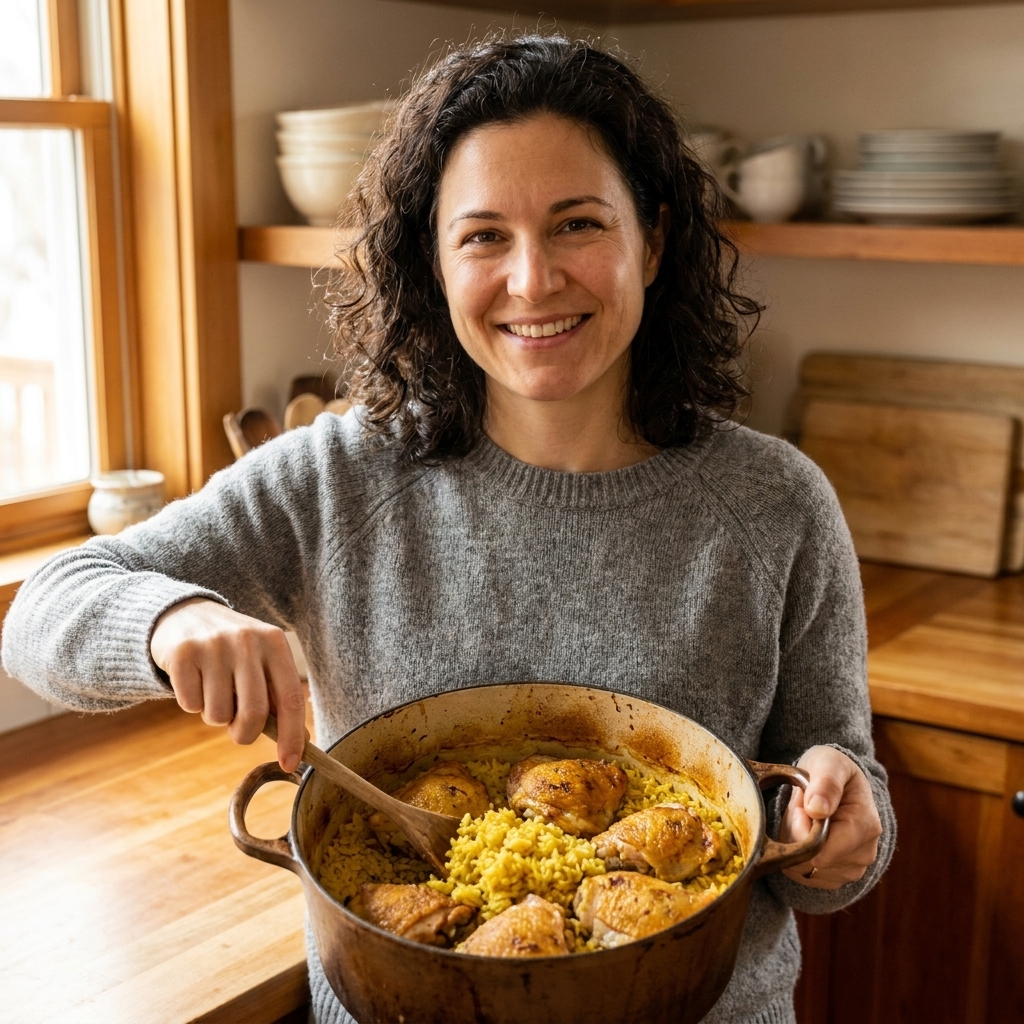
Why rice turns mushy
- Too much liquid. Start with 1 1/2 cups per cup of long-grain rice when cooking with chicken in a tight-lidded pot. Add more only if needed.
- Stirring while it simmers. Stirring releases starch and breaks grains. Once the lid is on, step away.
- Skipping the rinse. Especially with jasmine and medium-grain, rinsing is the difference between fluffy and gluey.
- Hard boil instead of gentle simmer. Boiling agitates the rice and increases starchiness. Keep it calm.
- Adding a lot of watery vegetables. Mushrooms and zucchini can push you over the edge. Reduce broth a bit or sauté veg first to drive off moisture.
Why rice turns dry or crunchy
- Not enough liquid or too much evaporation. Tighten your lid situation and consider adding a splash more broth next time.
- Heat too high. Liquid boils off before the grains can absorb it. After it reaches a simmer, go low. If your stove runs hot, switch to a smaller burner or use a heat diffuser.
- Not enough rest time. That 10-minute rest is not optional if you want evenly cooked rice.
Fast rescue for crunchy rice
If the chicken is cooked but the rice is not:
- Drizzle 3 tablespoons hot broth over the rice (more if needed, but start small).
- Cover tightly.
- Cook on low for 5 minutes.
- Rest 5 minutes, then fluff.
This little “steam boost” has saved more dinners in my kitchen than I care to admit.
Flavor boosters that behave
You can build serious comfort-food flavor without messing up the liquid math.
- Use broth, not water. Even half broth, half water is a big upgrade.
- Tomato paste (1 tablespoon per cup of rice). Sauté it with the aromatics to caramelize.
- Spices that bloom in oil. Paprika, cumin, curry powder, and oregano love a quick toast before the broth goes in.
- Lemon zest or vinegar at the end. Brightness makes one-pot meals taste less heavy.
- Butter finish. Stir in 1 tablespoon butter after resting for glossy, restaurant-style rice.
FAQ
Do I need to cook the chicken before adding rice?
You do not need to cook it through, but I strongly recommend browning it first. You get better flavor, and the pot behaves more predictably.
Can I use instant rice?
I do not love it for one-pot chicken and rice. Instant rice finishes so fast that the chicken often overcooks, and the texture can go pasty. If it is what you have, cook the chicken and aromatics first, then stir in instant rice with the liquid amount listed on the package and simmer only for the recommended time.
Should I bake one-pot chicken and rice instead of stovetop?
You can. In the oven (around 350°F), evaporation is usually lower and heat is more even. You may be able to use slightly less liquid than stovetop, especially in a Dutch oven. Use the same ratios to start, then adjust next time based on your pot and results.
How do I keep the bottom from scorching?
Use a heavy-bottomed pot, keep the simmer gentle, and make sure the rice is fully submerged before covering. If your stove runs hot, move the pot to a smaller burner or use a heat diffuser.
My no-stress checklist
- Choose long-grain white for the easiest win.
- Use the same cup for rice and broth.
- Rinse rice (or at least give it a quick swish).
- Brown chicken first.
- Toast rice 1 minute.
- Start with 1 1/2 cups broth per 1 cup rice in a tight-lidded pot, adjust for your pan and brand.
- Simmer low, lid on, no peeking.
- Check chicken hits 165°F.
- Rest 10 minutes, then fluff.
If you try this method and your rice still comes out a little too firm or too soft, tell me what pot you used, which rice, and which cut of chicken. Those three details solve most mysteries fast, and I am always up for a good kitchen whodunit that ends with fewer dishes.